
Template editor
Edit a template with Ask Marloo: fixed text and template instructions, global and section instructions, the toolbar, images and page breaks, attaching examples, undoing changes and training Marloo on your writing style.
Use the Ask Marloo panel on the right side of the editor to build and refine your template: describe what you want and Marloo generates or edits it for you. A good way to start is to upload an existing template, then refine it in the chat.
Inside the editor
Go to Templates and click your template. The editor has three areas:
- An outline down the left. Hover over it to see each heading, and click one to jump to that section.
- The editor in the middle, where you edit content directly. Selecting text here opens a refine box under the selection.
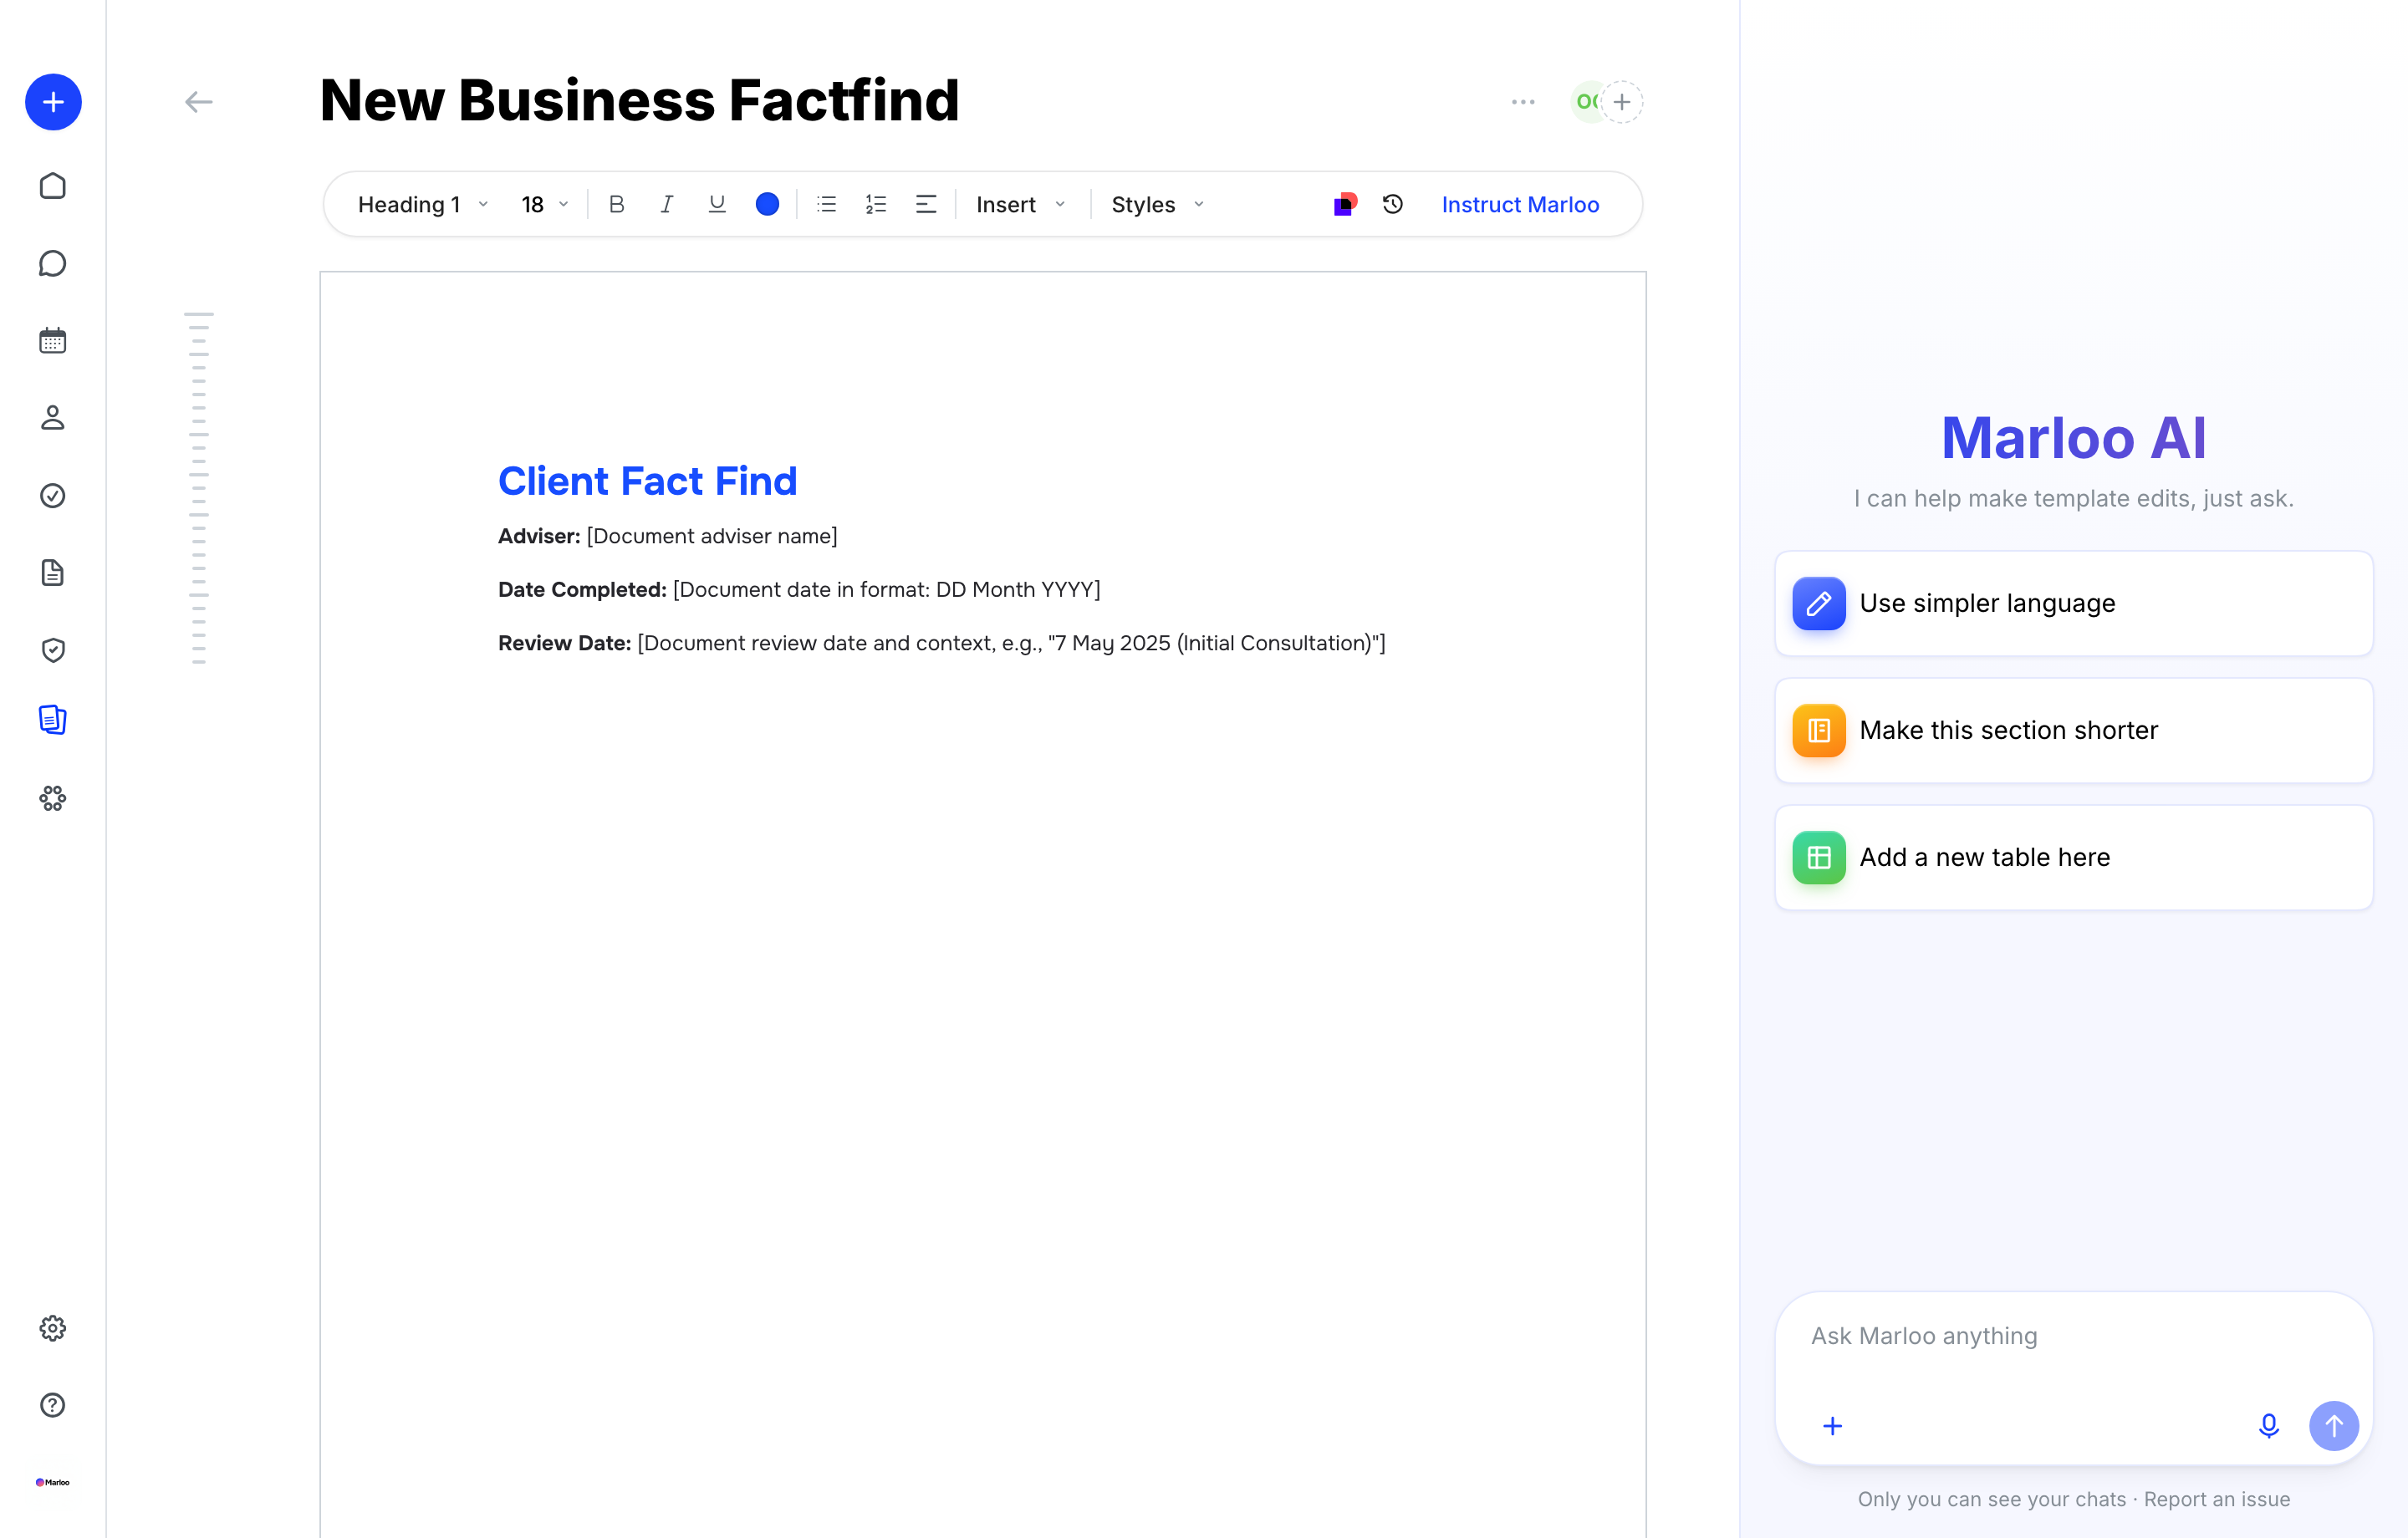
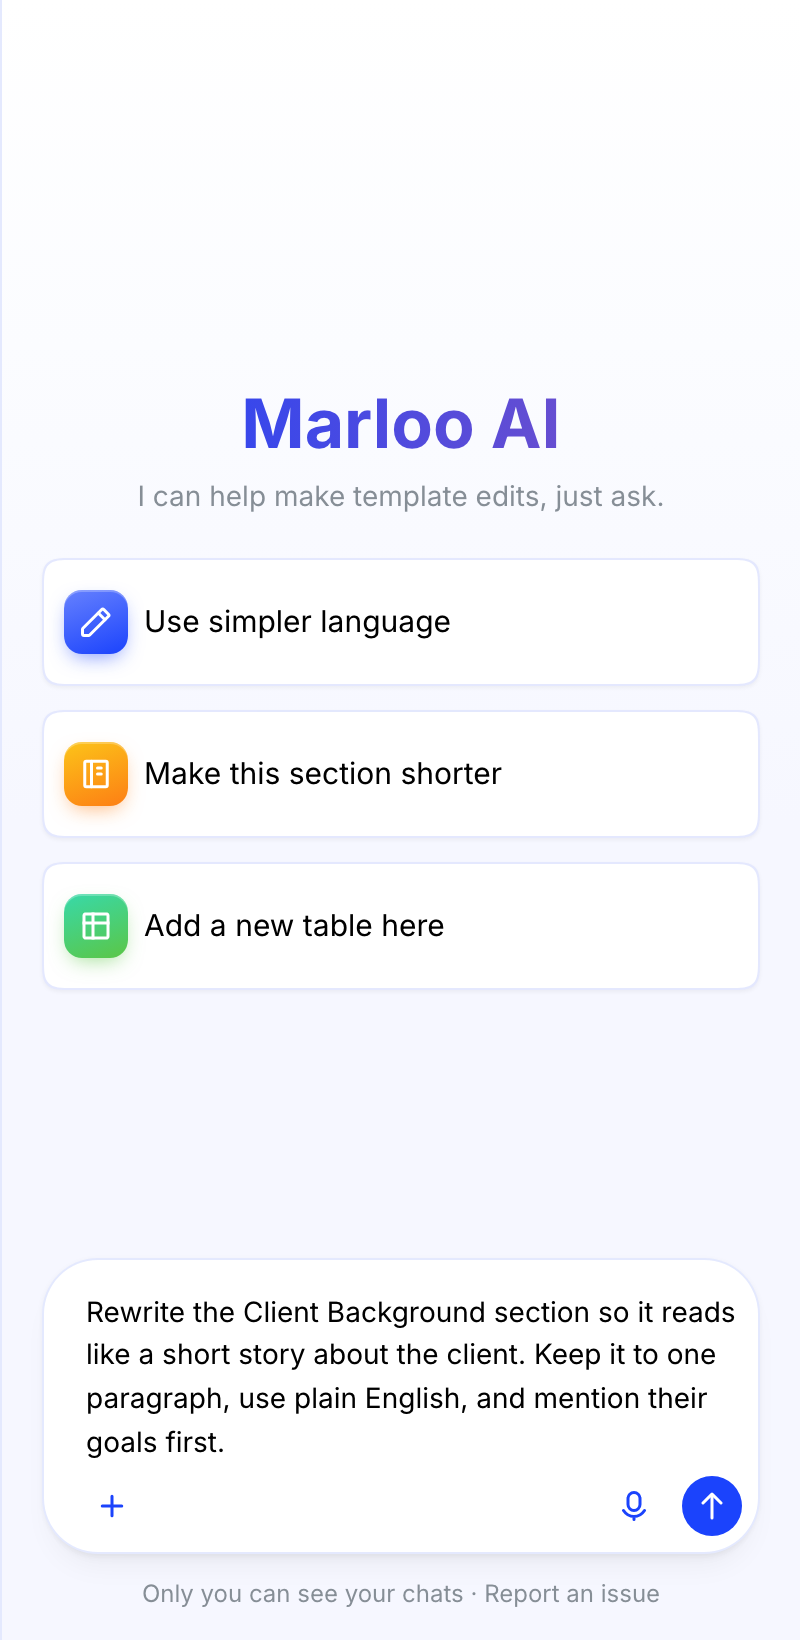
- The Ask Marloo panel on the right, a chat with the prompt Ask Marloo anything, which makes changes for you when you describe them.
Templates save automatically as you work; there is no save button.
Understanding white and blue text
The template editor uses two types of text, each with a different role in the output:
- Fixed text (white) - Marloo is told to copy this text word for word and not to rewrite it. Use it for fixed headings, standard paragraphs, compliance disclaimers, standard legal wording, and anything that should stay the same. Check disclaimers, risk warnings and other required wording in every generated document before you send it.
- Template instruction (blue) - tells Marloo what to write in that section, for example: "Document the client's reasons for seeking advice, including specific goals and concerns discussed in meetings." It does not appear in the output itself.
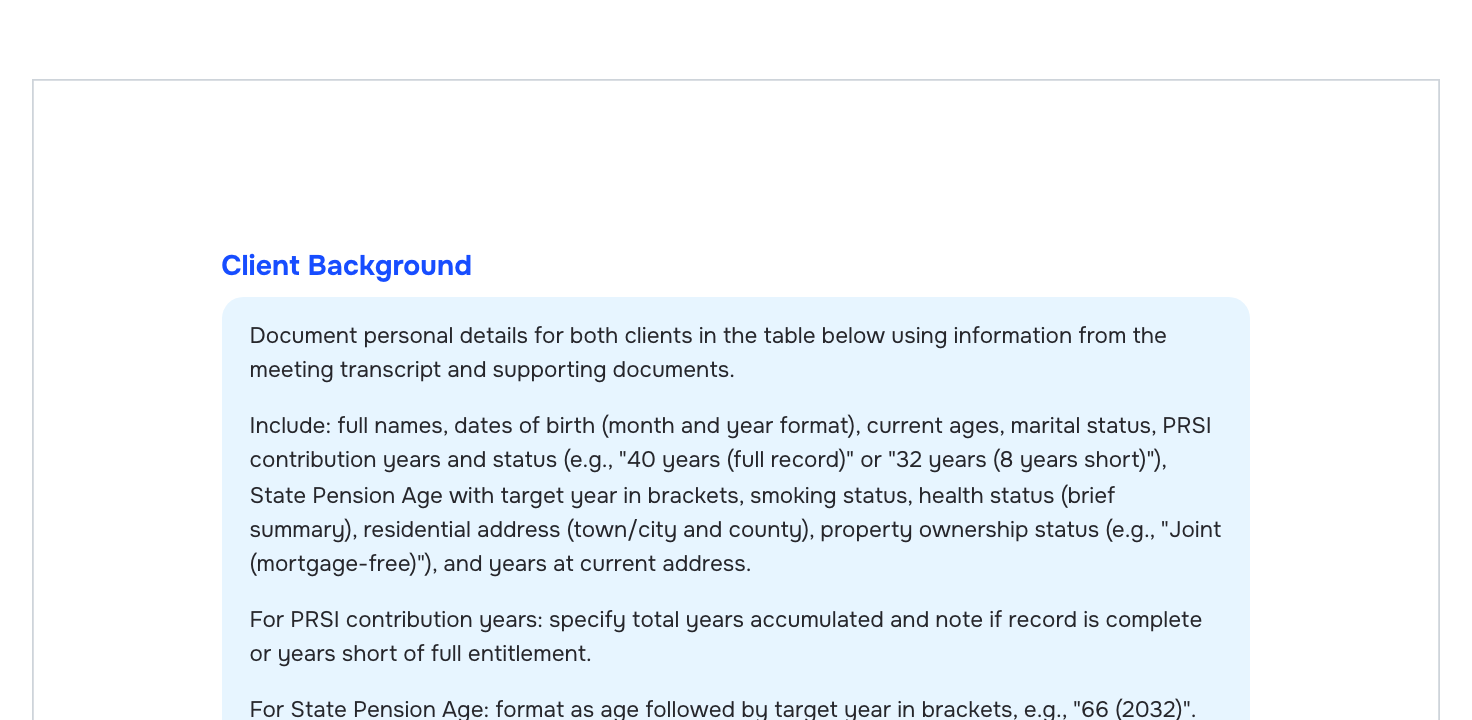
Select any text and click the Instruct Marloo button in the toolbar to switch it:
- White to blue: turns fixed text into a template instruction (Marloo writes this part).
- Blue to white: turns a template instruction back into fixed text (Marloo copies it word for word).
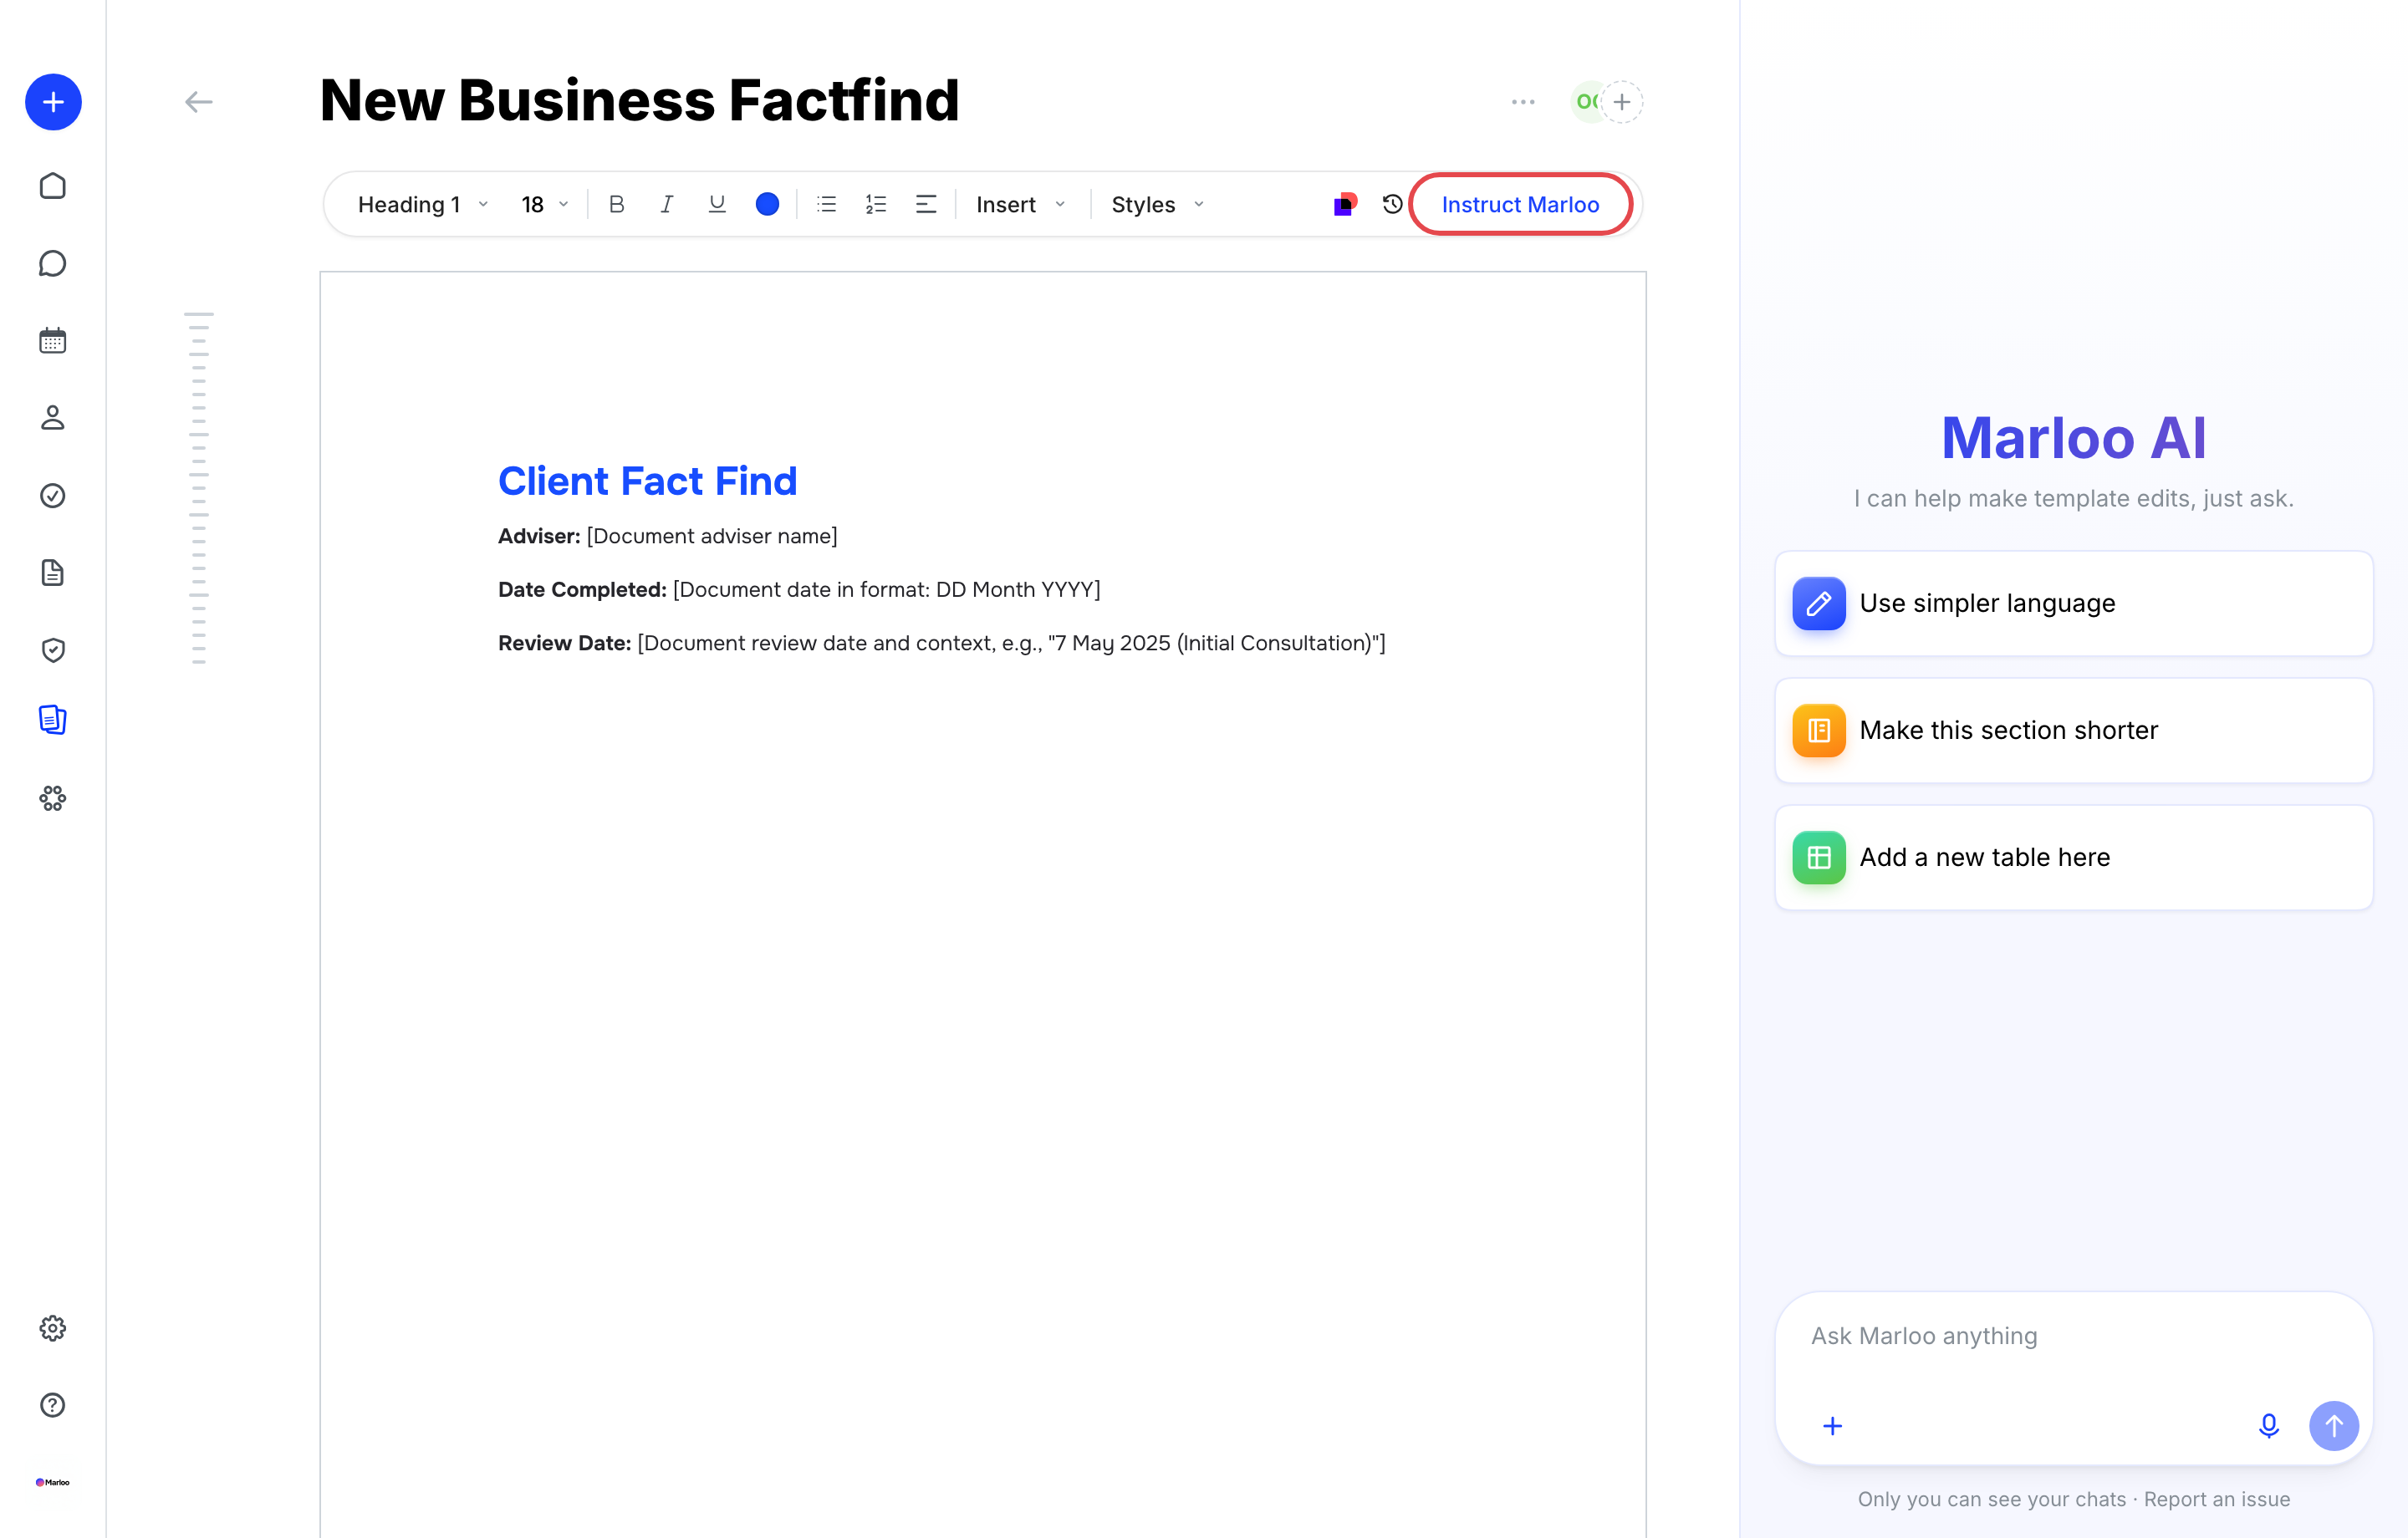
Common mistake: If a heading is phrased as a directive (e.g., "Summarize the client's goals here" or "Document the client's..."), Marloo treats it as a template instruction and tries to act on it rather than showing it as a heading. Rewrite it as a plain label (e.g., "Client summary"), or highlight it and click Instruct Marloo to switch it to fixed text.
Common mistake: If fixed text is being rewritten in outputs, it's inside a template instruction, so Marloo treats it as a brief. Move the text out of the instruction, or highlight it and click Instruct Marloo to switch it to fixed text, then check the wording in the next generated document. For meeting templates with a lot of fixed text, consider moving that content to a document template, which handles fixed text more reliably.
Global instructions and section instructions
A document template has two levels of instruction.
Global instructions sit in a block at the top of the template, and rules written there apply to the whole document. Marloo's default templates open with a block headed "GLOBAL INSTRUCTIONS - APPLY TO ENTIRE DOCUMENT". Use it for:
- Which sections are mandatory and which are conditional
- Formatting rules (e.g., "Always state percentages to two decimal places")
- Behavioral rules (e.g., "Omit any section if there is no relevant content")
Global instructions belong to one template. Rules for every template at your firm go in Company instructions under Knowledge > Company.
Section instructions tell Marloo what to generate in each section. A section can include:
- Template instructions (blue) - what Marloo should write
- Fixed text (white) - text Marloo is told to copy word for word
- Placeholders - fields like [Client Name] or [Advisor Name] that Marloo fills from context
- Conditional rules - instructions that apply only in certain situations (e.g., "Only include this section if the client has existing insurance being replaced")
For broad behavioral guidance that applies to the whole document, write it in your global instructions or ask for it in the Ask Marloo panel. How to write these rules so they hold from one generation to the next: Refine your document template.
Using Ask Marloo to build and edit templates
The Ask Marloo panel sits on the right side of the template editor. This is your main tool for building and refining templates: you don't need to edit the template body manually unless you want to. Changes appear in the template as Marloo makes them.
Describe what you want your template to do. Be specific about the sections, content, and structure you need. Here are some examples of the kinds of instructions you can give:
- "Create a product comparison template that includes columns for provider, premium, coverage amount, and exclusions"
- "Add a section for capturing the client's current financial position including assets, liabilities, and cash flow"
- "Restructure this template so the recommendations section comes before the risk profile"
- "Add a table for recording the client's existing insurance policies with columns for insurer, policy type, coverage amount, and premium"
- "Make the action items section a numbered list instead of bullet points, and add a column for who is responsible"
- "Only include the Consequences of Replacing Products section if the client has existing insurance"
- "Add a row for Property in the asset allocation table"
Marloo may ask clarifying questions before it generates or edits the template. Answer them, then Marloo will update the template directly.
Attaching files in the chat
Click the + button in the bottom left of the chat pane to attach a file (if a menu opens, choose Attach file). Use this to give Marloo reference material, for example an example meeting summary, a previous output, or a feedback document.
To implement written feedback, export or prepare a document with your notes, attach it in chat, and ask Marloo to make the changes. For example: "I've attached a feedback doc. Please implement all of the changes marked in it."
Iterating until it matches your style
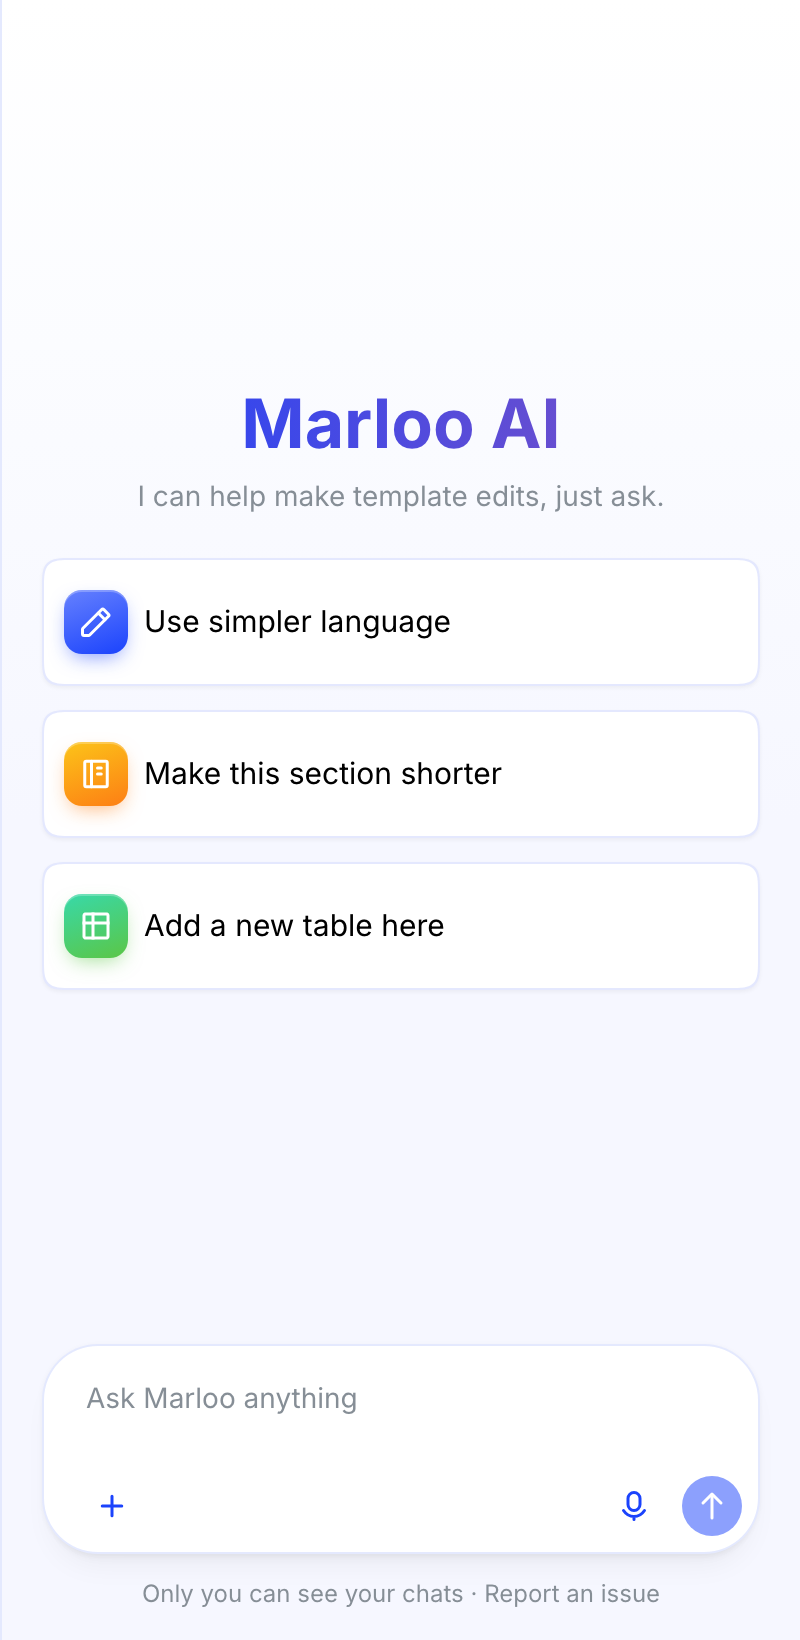
Chat is iterative. You don't need to get everything right in one message: keep refining until the output matches what you want.
One change per message works best. If you ask for multiple changes in a single message, Marloo may miss some. If you have several changes to make, ask Marloo to create a plan first, then have it make the changes one by one. The chat works section by section, so use the exact section name when targeting a specific part of the template. If Marloo doesn't get it right on the first try, say which section to change and what the result should look like.
Common mistake: Asking for many changes in one message often leads to partial results. Send one instruction at a time and review the output before sending the next. If you have a list of changes, ask Marloo to plan them out first.
Clearing chat and undoing changes
If Marloo's responses become vague, repetitive, off-topic or less accurate, it's usually a sign of context overload. Marloo processes the full conversation history each time, and long threads reduce quality. Click the Chat history button (the clock icon) at the top left of the chat pane to leave the current conversation and start a fresh one with a single clear instruction. Your earlier conversations stay listed there if you need to go back to one.
To reverse a change, including one Marloo made to the template, press Ctrl+Z (Cmd+Z on a Mac). This steps back one change at a time. To go back further, click History (the clock icon in the editor toolbar) to open Version history and restore a saved version.
Training Marloo on your writing style
You can teach Marloo to write in your voice by pasting example emails or writing samples directly into the chat, then asking it to emulate that style going forward.
For example: "Here's an example of how I write to clients. Please use this style in all sections of this template." Marloo will incorporate the style as an instruction stored inside the template, so it applies every time the template is used, not just during this session.
Each advisor can have their own personal template with their own personalized style instructions. This means two advisors on the same team can produce outputs in their own distinct voices from the same base template structure.
Important: Style instructions saved in a template only apply to that one template. They do not affect other templates or Marloo globally. If you want to set a consistent writing style across all of Marloo, go to Knowledge > Company and add it under Company instructions. Marloo follows these for everyone in your company.
Tip: The more specific your style instruction, the better the result. Instead of "write more casually", try: "Use short sentences. Address the client by first name. Avoid jargon. Keep paragraphs to two sentences."
Writing in first person
By default, Marloo may refer to the advisor by name in generated outputs. You can change this to first person by adding a directive in the chat.
For example: "Write all outputs in first person. Use 'I' instead of the advisor's name throughout." Marloo will add this as a standing instruction in the template.
This is particularly useful for email templates or summary introductions where the advisor sends the output directly to clients.
Toolbar
The toolbar runs along the top of the template editor and provides standard formatting controls.
| Control | What it does |
|---|---|
| Text style (shows Body by default) | Sets Heading 1, Heading 2, Heading 3, Body or Quote for the selected text. |
| Font size | Sets the size of the selected text. |
| Bold / Italic / Underline | Standard inline text formatting. |
| Color | Changes the color of the selected text. |
| Bullet list | Inserts an unordered list. |
| Numbered list | Inserts an ordered list. |
| Align | Left, center, right or justified alignment. In a table, also sets vertical alignment within cells. |
| Insert | Adds a Table, an Image or a Divider, along with any other blocks your editor offers there. The divider shows as Page break instead once Page breaks is turned on under Export options in your style. See Images and page breaks. |
| Styles | Chooses the document style the template uses, or opens it for editing. |
| History | Opens Version history, where you can save a version or restore an earlier one. |
| Instruct Marloo | Switches selected text between fixed text (white) and a template instruction (blue). |
To undo or redo, press Ctrl+Z or Ctrl+Shift+Z (Cmd+Z or Cmd+Shift+Z on a Mac).
A note on checkboxes: Checkboxes in a template are fixed, so they can't be checked by clicking them in a generated summary or document. If you want one checked, ask Marloo and name the position, for example: "Please check the checkbox in column 2, row 5." For fields that need to be genuinely fillable, use Forms instead, which works with real interactive fields.
Images and page breaks
Images: choose Insert > Image in the toolbar, then Upload image (or pick one from My images). An image added to a template appears in every document generated from that template. If you want an image for just one client (like a chart from their modeling software), add it to the generated document while you review it instead. Image formats, conditional images and troubleshooting: Add images to your templates.
Page breaks: place your cursor where you want the break, then choose Insert > Page break. A thin gray line appears in the editor marking the break, and a new page starts there in exported documents. If the menu shows Divider instead, open Documents > Styles, open your style and turn on Page breaks under Export options.
Tips
- A good starting pattern is uploading an existing template file, then using Ask Marloo to refine it to match your needs.
- Use exact section names when asking Marloo to edit a specific part of the template (e.g., "Update the Recommendations section to also include a risk summary").
- Paste a real output you're happy with into the chat and ask Marloo to reverse-engineer a style instruction from it.
- Clear the chat and start fresh whenever you switch to a new type of edit. This stops earlier instructions from interfering.
- Review the template after each chat session by scrolling through and checking that fixed text and template instructions are correctly assigned.
- Ask Marloo in the template editor works on one template at a time. To reuse standard text (such as a disclaimer or Form ADV brochure) across templates, either open each template and apply the change, or upload the standard text to company context and reference it by name in your template instructions so every template can pull the same wording.
Still need help?
See Template troubleshooting for access, sharing and upload issues.
Related articles
- How templates work in Marloo - Overview of all template types in Marloo
- Create and upload document templates - Upload a template or start from one of Marloo's
- Refine your document template - Improve a template from real output
- Add images to your templates - How to add and manage images in the template editor
- Template troubleshooting - Common template issues and fixes
Still stuck? Talk to a human.
Email the Marloo team with what you are seeing. If you are in the app, the blue chat button in the bottom-right corner is the fastest way to reach us.