
Customize your document styling
Set fonts, colors, headers, footers, dynamic fields and landscape pages for exported documents, and keep more than one style.
Open Documents > Styles.
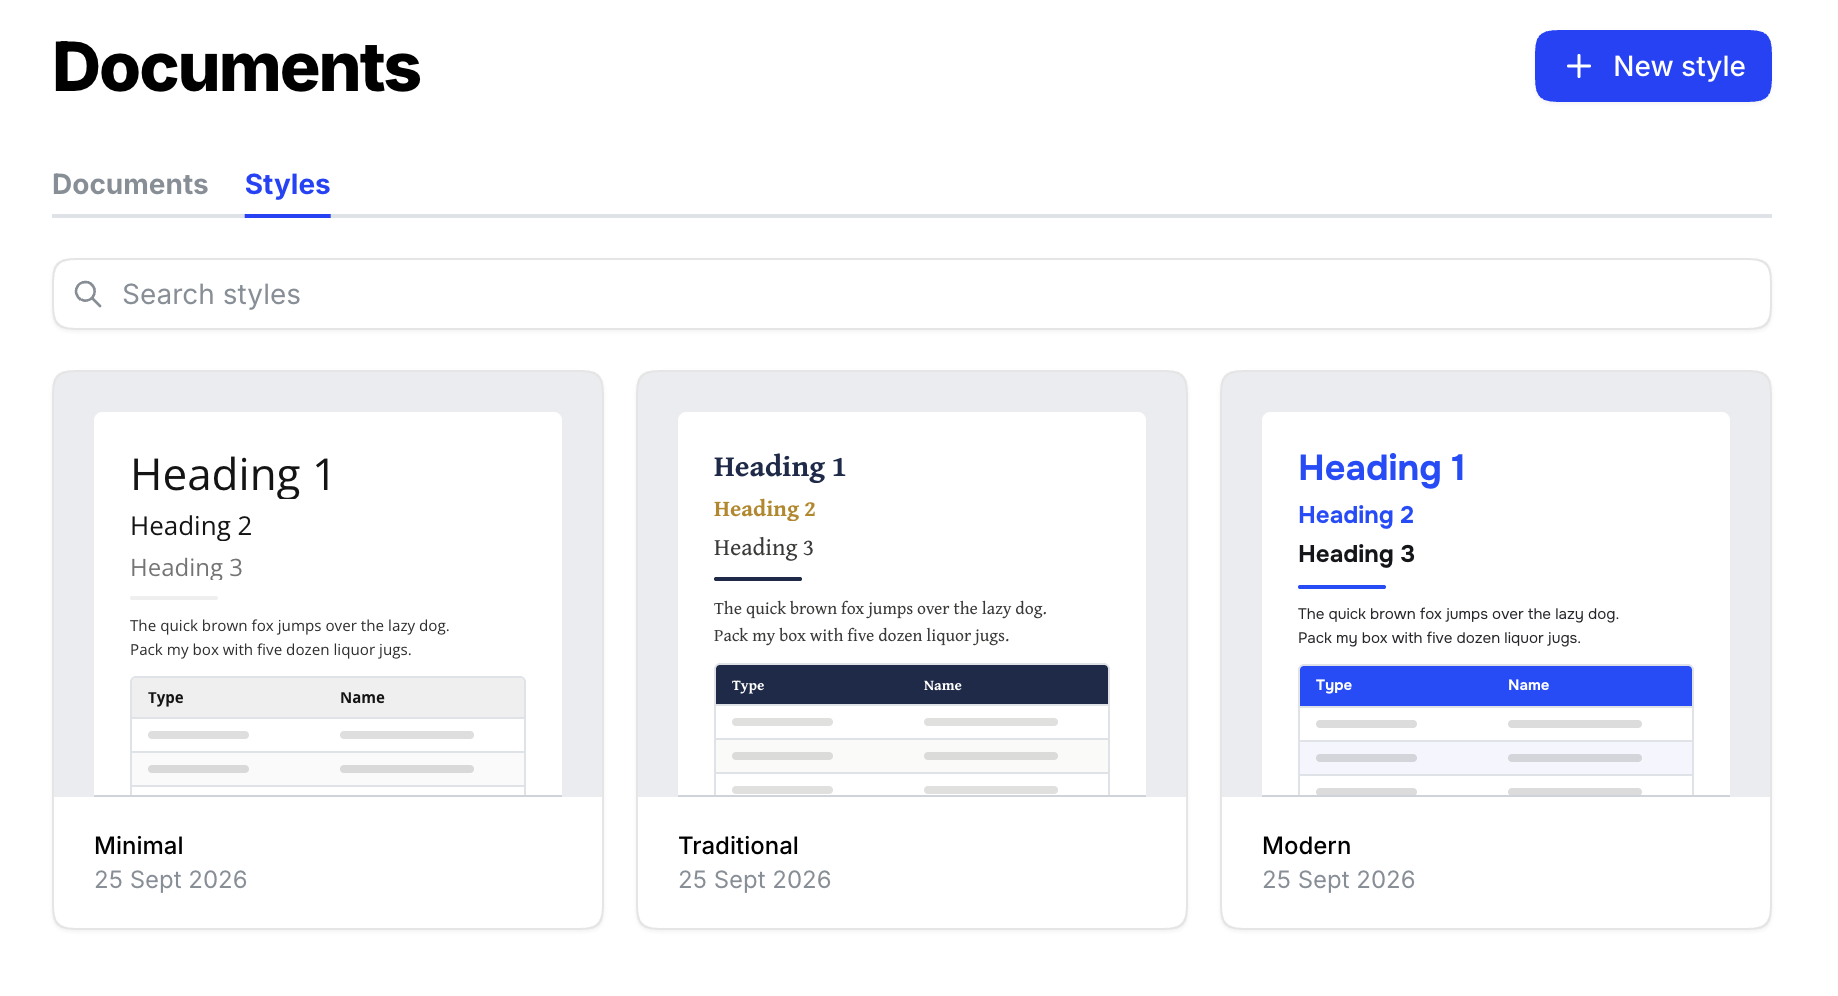
This is the full reference. If you are setting up your first style, start with Set up your first document style and come back here when you want to change something specific.
The quick way: upload a branded document
You do not have to configure fonts, colors, spacing or tables by hand. Upload one existing branded document and Marloo reads your styling out of it.
- Upload an existing document. Under Documents > Styles, create a style and upload a file that represents your firm's branding. Marloo extracts its fonts, colors, spacing, tables, and your header and footer.
- Add your cover page. The one thing not picked up from that file. Take an existing file that represents your firm's branding, delete everything except the front pages, and upload it in the Cover page section. Step-by-step instructions and a short video are in Set up your first document style.
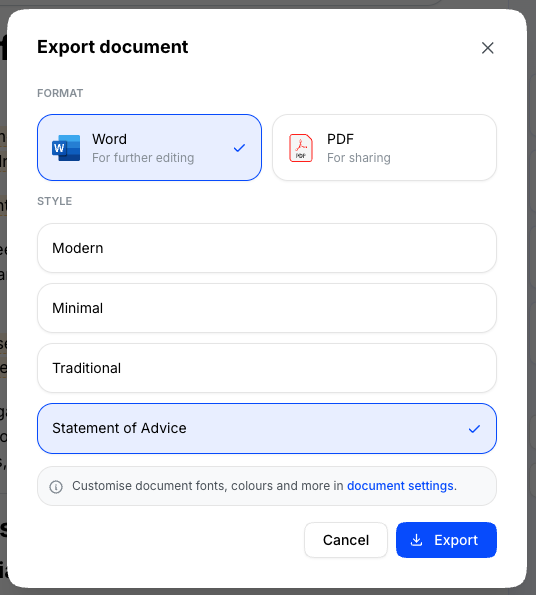
- Pick your style for each document. Creating a style does not make it the automatic default. For a document, choose it from the Styles menu in the document editor toolbar (Marloo remembers it for that document); for a meeting summary, choose it under Style in the export dialog.
Every placeholder
Type a placeholder into your cover page .docx and Marloo replaces it with the real value each time you export. The Copy variables button in the style editor lists the ones for your region.
| Placeholder | What it inserts |
|---|---|
{{TITLE}} | Document title (client's name removed on the cover page; see How to add cover pages to Marloo exports) |
{{AUTHOR}} | The name of whoever generated the document |
{{DATE}} | The export date |
{{CLIENT}} | The client's name |
{{CLIENTADDRESS}} | The client's address |
{{ADVISER}} | The client's advisors, listed A to Z |
{{COMPANY}} | Your company name |
{{COMPANYADDRESS}} | Your company address |
{{LICENSEE}} | Your licensee name (Australian firms only) |
{{USEREMAIL}} | Your email address |
{{EMAIL}} | Your email address (same value as {{USEREMAIL}}) |
{{USERPHONENUMBER}} | The advisor's phone number |
{{USERADVISORNUMBER}} | The advisor's CRD number |
{{ADVISERNUMBER}} | The advisor's CRD number (same value as {{USERADVISORNUMBER}}) |
{{USERADDRESS}} | Your own address, from your Account settings page |
{{USEROTHER}} | Your other details, from your Account settings page |
{{COMPANYBUSINESSNUMBER}} | Your EIN |
{{COMPANYREGULATORYLICENSENUMBER}} | Your regulatory license number |
Format placeholders like any other text: font, size, color and alignment all work normally. The safest way to get the exact placeholder is the Copy variables button in the editor.
The advisor placeholders fill in from the profile of whoever exports the document.
The styling editor, section by section
Open a style to fine-tune anything the upload extracted:
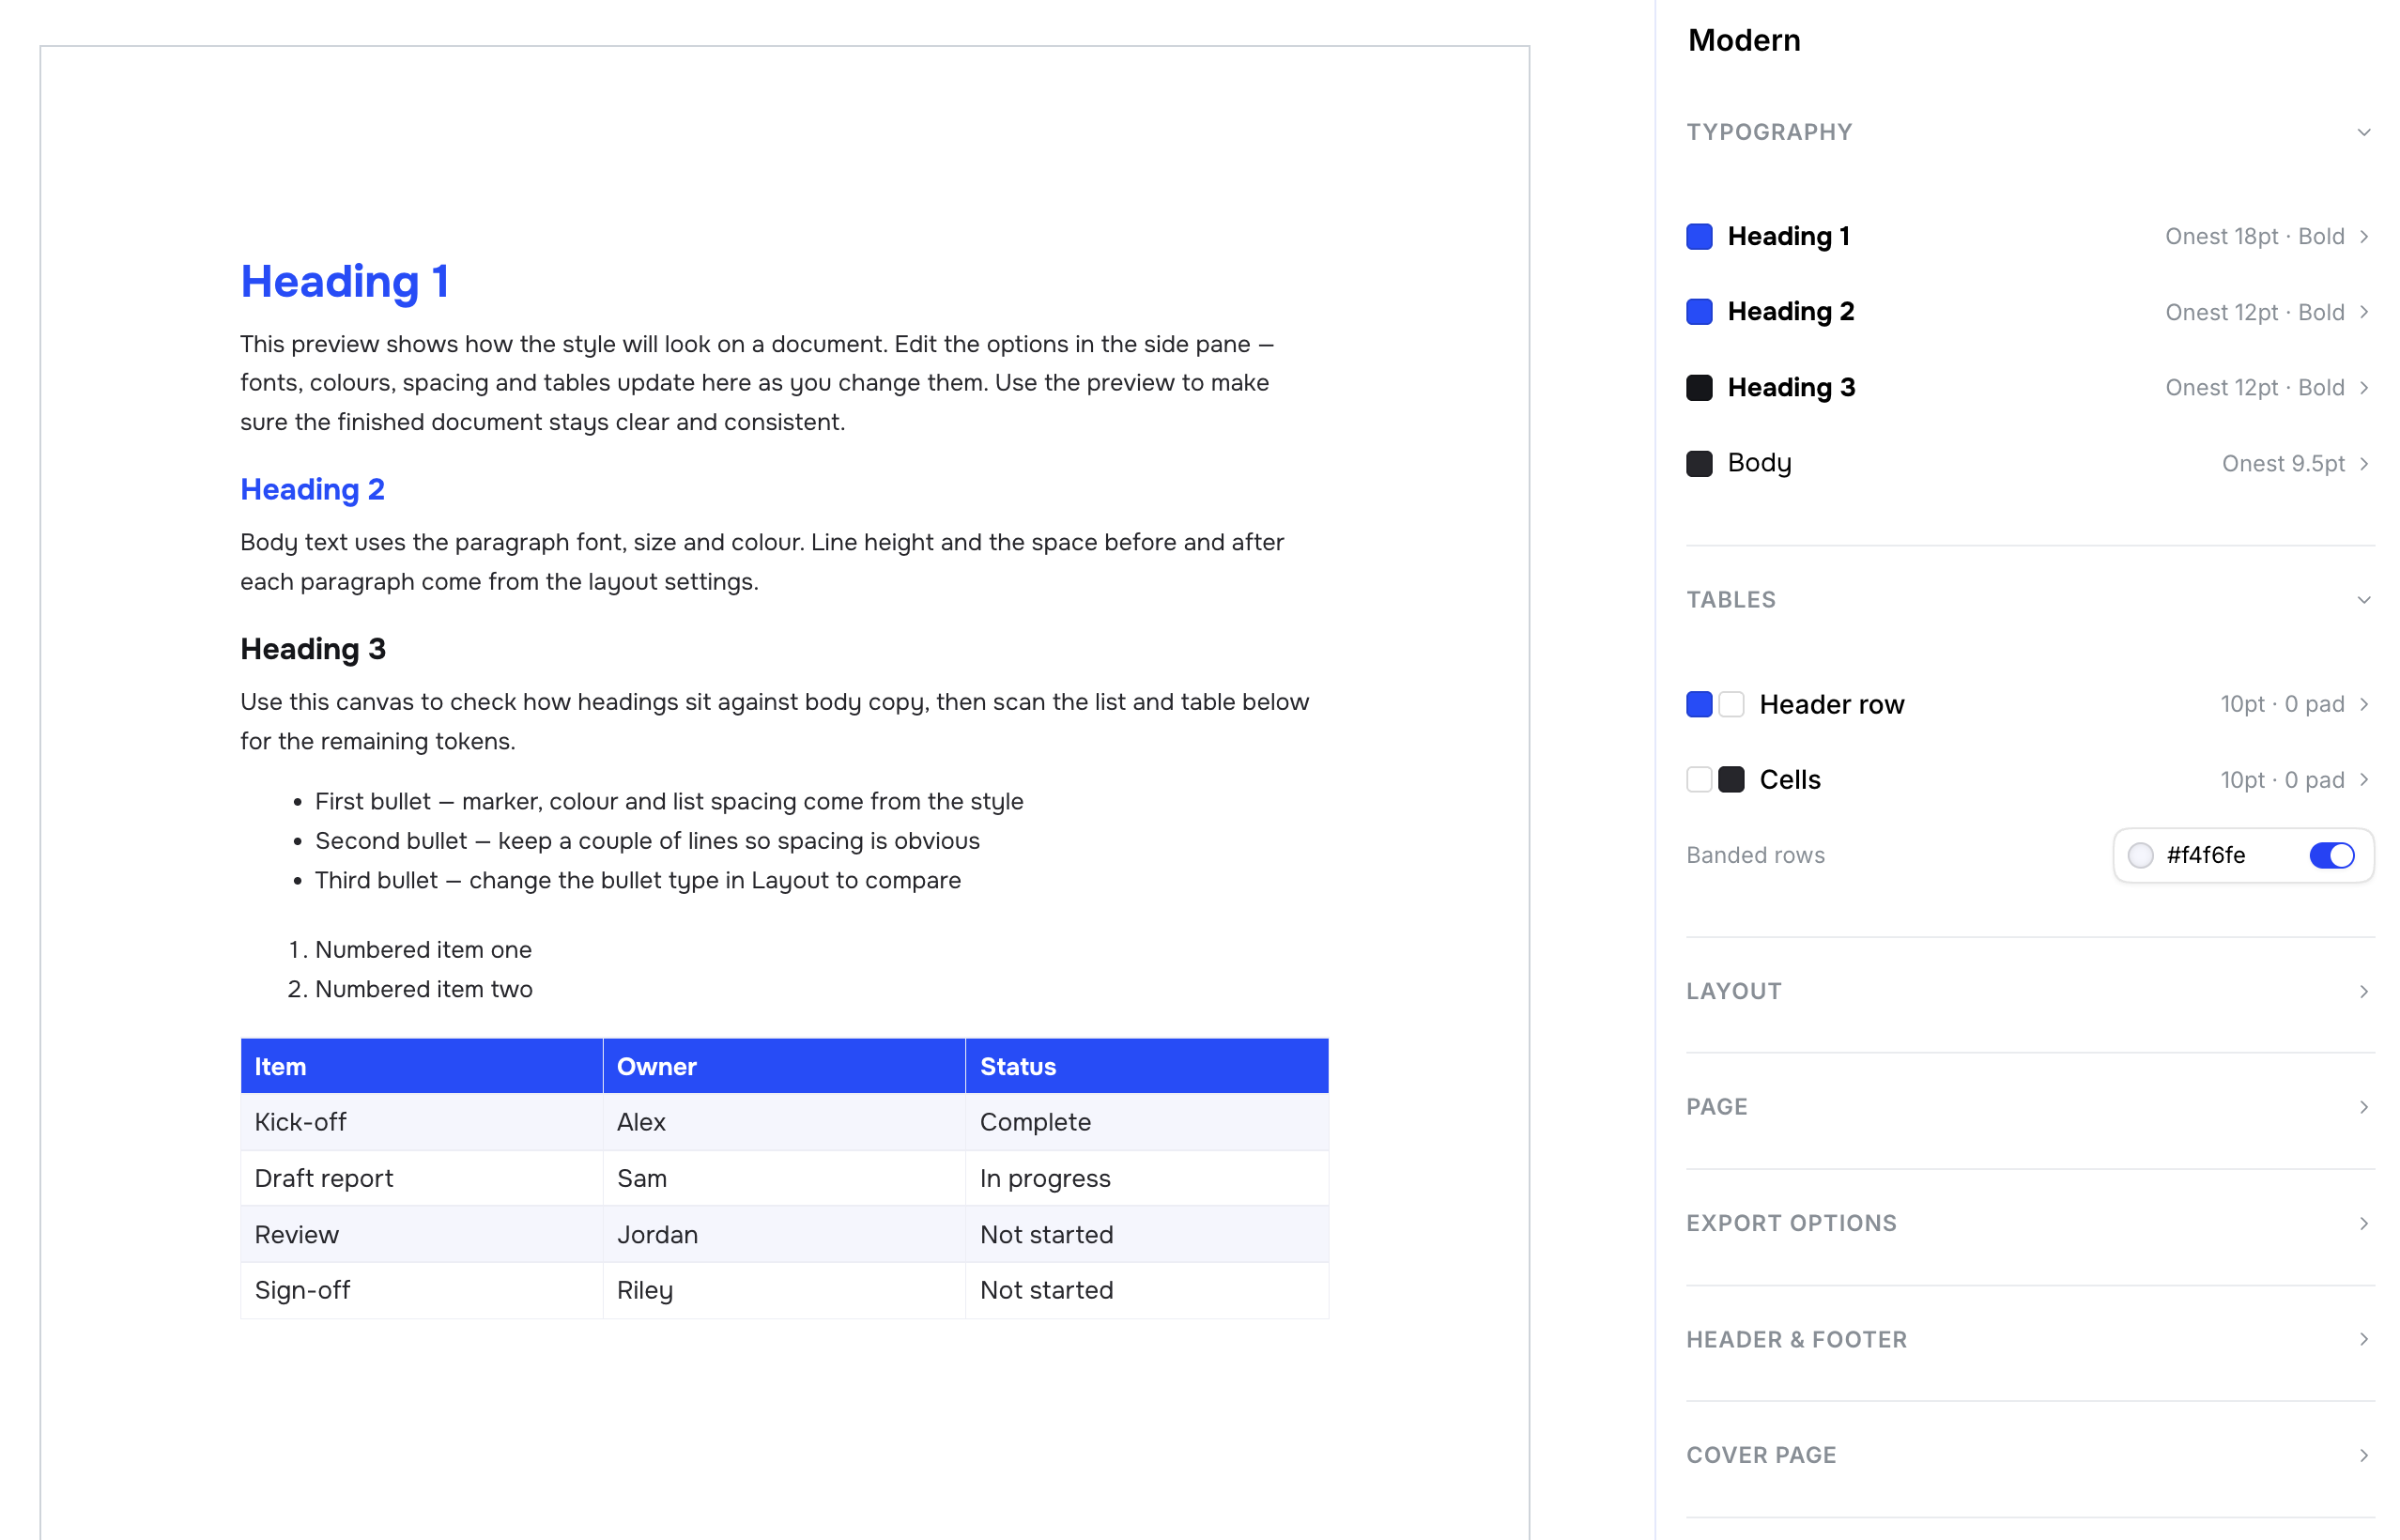
- Typography - fonts, sizes, colors, and bottom borders for Heading 1/2/3 and body text. Click the eyedropper beside a color to pick a color from anywhere on your screen, for example from your branded document open next to Marloo. The eyedropper shows in Chrome and Edge.
- Layout - paragraph spacing, line height, list spacing and bullet type.
- Page - page size, orientation, page color and margins.
- Export options - switches for an auto-generated table of contents and for page breaks in exports.
- Tables - header row, body cells, borders, and banded rows. The live preview shows your changes as you make them, so you don't need to export to check.
- Header & footer - already filled in from the document you uploaded in step 1; see below.
- Cover page - your uploaded front matter, from step 2.
To give one table, row or cell its own colors, see Style individual tables, rows and cells in a document template.
Header and footer
Your header and footer come across automatically from the document you upload in step 1, so this section is usually already populated. Open it to check them, adjust them, or upload a different .docx if you want the header and footer from another file.
Built-in styles and multiple styles
Every Marloo account starts with three built-in styles: Modern, Minimal and Traditional. You can export with any of them straight away, without configuring anything.
You can also create more than one of your own, for example a full financial plan style and a shorter letter style. All of your saved styles appear in the Styles menu in the document editor toolbar, alongside the three built-in ones.
You can also build a style from scratch in the styling editor, setting each option yourself.
Landscape orientation
Document generation templates and outputs can be formatted in landscape. Open the relevant style and change the page orientation under Orientation in the Page section. Landscape applies to the entire document, so a single page or section cannot be turned sideways on its own.
Troubleshooting
| Issue | Solution |
|---|---|
| No branding in exports | Set up your firm style first, then select it from the Styles menu in the document editor (or under Style in a meeting summary's export dialog). A new style isn't applied automatically. |
| Exported document has the wrong fonts or sizes | A different style was selected. Pick your firm's style from the Styles menu (or the export dialog) and re-export. |
| Cover page not appearing | Check that your cover page file was uploaded in the Cover page section and the upload completed. See How to add cover pages to Marloo exports. |
| Placeholders showing as raw text | Check the placeholder syntax. Use the exact format: {{TITLE}}, {{AUTHOR}}, {{DATE}}, {{CLIENT}}. |
| Table of contents not generating | Turn on the Table of contents switch under Export options. |
| Header or footer not appearing | Open the Header & footer section and confirm something was extracted. If it's empty, the file you uploaded didn't have a real header and footer defined in Word, only text at the top or bottom of the page body. Upload a file that does. |
| Page numbers are wrong or missing in the export | Adjust the page numbers in the header and footer .docx for that style, then re-upload it in the Header & footer section. |
| Spacing in the export doesn't match the spacing set in the style | Inspect the cover page and header and footer documents you uploaded. Download each one, open it in Word, and check its own paragraph and line spacing: the spacing baked into those files is a common cause of an export that doesn't match your Marloo style. Fix the spacing in the file and re-upload it. |
| Logo only shows on the notetaker, not on documents | Set your logo via Documents > Styles (inside your cover page .docx), not via the Logo in Settings > Company settings: that one is for the notetaker only. |
Good to know
- The style you pick at export applies to the whole document, whether the template was uploaded or built in Marloo.
- Page orientation applies to the whole document too. You cannot mix portrait and landscape pages in one export. If you need both, create a second style set to landscape, export those sections separately, and merge the two documents together afterwards.
- A Word template's original fonts and spacing don't carry over automatically: the styling editor is the source of truth. Uploading a template may automatically create new styles in your account based on that file's formatting.
- The Layout section controls paragraph, line and list spacing for the whole document.
- If your exports have unexpected colors or fonts, check which style is selected in the Styles menu (or the export dialog). You may be using an auto-created style instead of your firm's main brand. You can delete unwanted auto-created styles in the styling editor so your team doesn't pick them by mistake.
Still stuck? Talk to a human.
Email the Marloo team with what you are seeing. If you are in the app, the blue chat button in the bottom-right corner is the fastest way to reach us.